Installation
Designing The Wall:
- Decide exactly where the wall needs to be built:
- Measure how long, and how high the wall will be- these numbers are essential to calculating how many
blocks will be needed.
- Factors to consider:
- The soil type: clay vs. sand vs. rock
- Water: Is there a path where the water wants to flow? Will there be irrigation above the wall?
Water accumulation behind walls is the number one failure of retaining walls.
- Will there be any surcharges above the wall? Example: vehicle parking, pool, deck, etc.
- Once the wall height is determined, the setback or batter of the wall can be decided. With
THE-BLOCK® a 5°
or 10° slope is obtained with the use of an accompanying key.
- Generally, the higher the wall, the greater the setback, unless reinforcement is used.
- When calculating how many blocks are necessary remember that the bottom block should be buried a
minimum of 1 inch per foot of wall height.
- Clay and water issues will result in a lower wall unless reinforcing (geo-grid) is used.
Professional help will be required.
- Walls over 4 feet are usually required by municipalities to be engineered.
- Print off the Designing Factors Worksheet to bring to your
local dealer to assist them in helping you build your wall.
Base Prep
- Dig a trench for the base.
- The trench needs to be deep enough to accomodate 4" to 6" of compacted crush,
as well as an extra 1" of depth for every foot of wall height.
- It should be between 18 and 24 inches wide (to allow for a plate tamper).
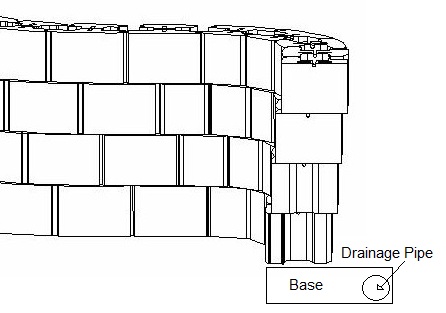
- Level and compact the trench with a plate tamper.
- Install the drainage pipe.
- Fill with 6 to 8 inches of crush. Level and pack.
- Make sure that the base is level both front to back and side to side.
Spending extra time here will save time in installation.
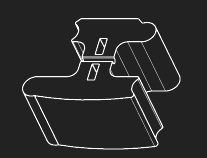
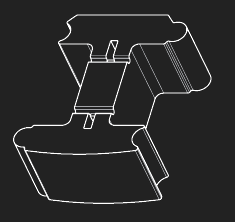
Construct the Wall
- Place the base course of THE-BLOCK®.
- Ensure that each block is level front to back, and side to side.
- Backfill behind and in front the base course and compact.
- Sweep off the tops of the blocks- this is very important in creating a stable and level wall!
- Start the second course with a half block, and continue placing blocks until the second course is finished.
- Ensure the course is level.
- Backfill and compact behind the blocks. Sweep off the tops of the blocks.
- Continue adding courses in the way described above until the desired height is achieved.
- Curves are simply made by rotating the blocks into the desired arcs.
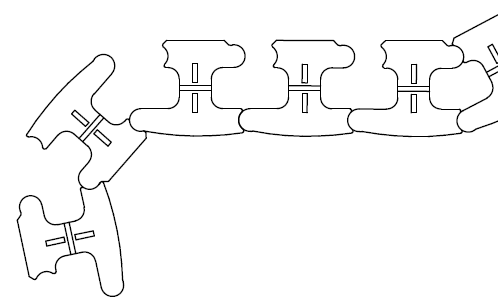 Inside corners are produced by rotating the block until the short side is on the outside of the wall. Allow for changes
in the lead and lag of blocks as the wall height increases due to changes in the radius of each course.
Inside corners are produced by rotating the block until the short side is on the outside of the wall. Allow for changes
in the lead and lag of blocks as the wall height increases due to changes in the radius of each course.
Finishing the Wall
- Once the wall is to the desired height, it can then be capped.
- The wall can be capped with a flat block (such as a 12 x 16 x 3), or stone, depending on what is
available in your area.
- If the wall curves the caps will need to be cut to follow the contours of the wall.
- Place the caps, and, if necessary, glue them in place with a concrete adhesive.
- The wall is complete! It's now time to finish the rest of the landscaping to make your outdoor living area
fantastic!
- For more landscaping ideas visit Hamilton Concrete Inc.